I have been practicing a brazilian martial art, called capoeira, fairly regularly for about 1 year. I have been with two groups, Axé Capoeira and Grupo Cativeiro Capoeira, both in Victoria BC, and previously I trained a few months with Ache Brasil, in Vancouver. Each group has its merits, and I have the first belt from Axé and now also from Cativeiro.
Our group, associated with Cativeiro, is very grass roots and intimate, with classes in Victoria and Duncan, BC. Our graduation ceremony (called Batizado and Troca de Corda), was held in Duncan this past weekend. My ceremonial fight was with invited Professor Formiga (which means Ant). The take down he uses on me is called a tesoro (spelling?), and yes, the landing was a bit rough. It is a common tradition that you are taken down by a professor or higher when you receive a belt. At the end I was asked to name a capoeira god mother, and as you can see I was quite surprised by this. I pointed at the nearest and fairest lady in the crowd (thanks!).
Capoeira is a combination of martial arts, dance, and brazilian folk music. There is an uplifting energy that is felt when one plays capoeira, especially when you can put a few moves together. I recommend it to anyone who is serious about doing regular exercise and rising to challenges.
Prof Formiga says "I sharpen my feet," at the start of the fight, and I avoid his take downs a few times before he gets me.
Contact me to arrange workshops in the area.
I make materials for these, and I look forward to your requests for kits!
Enjoy Geometry.

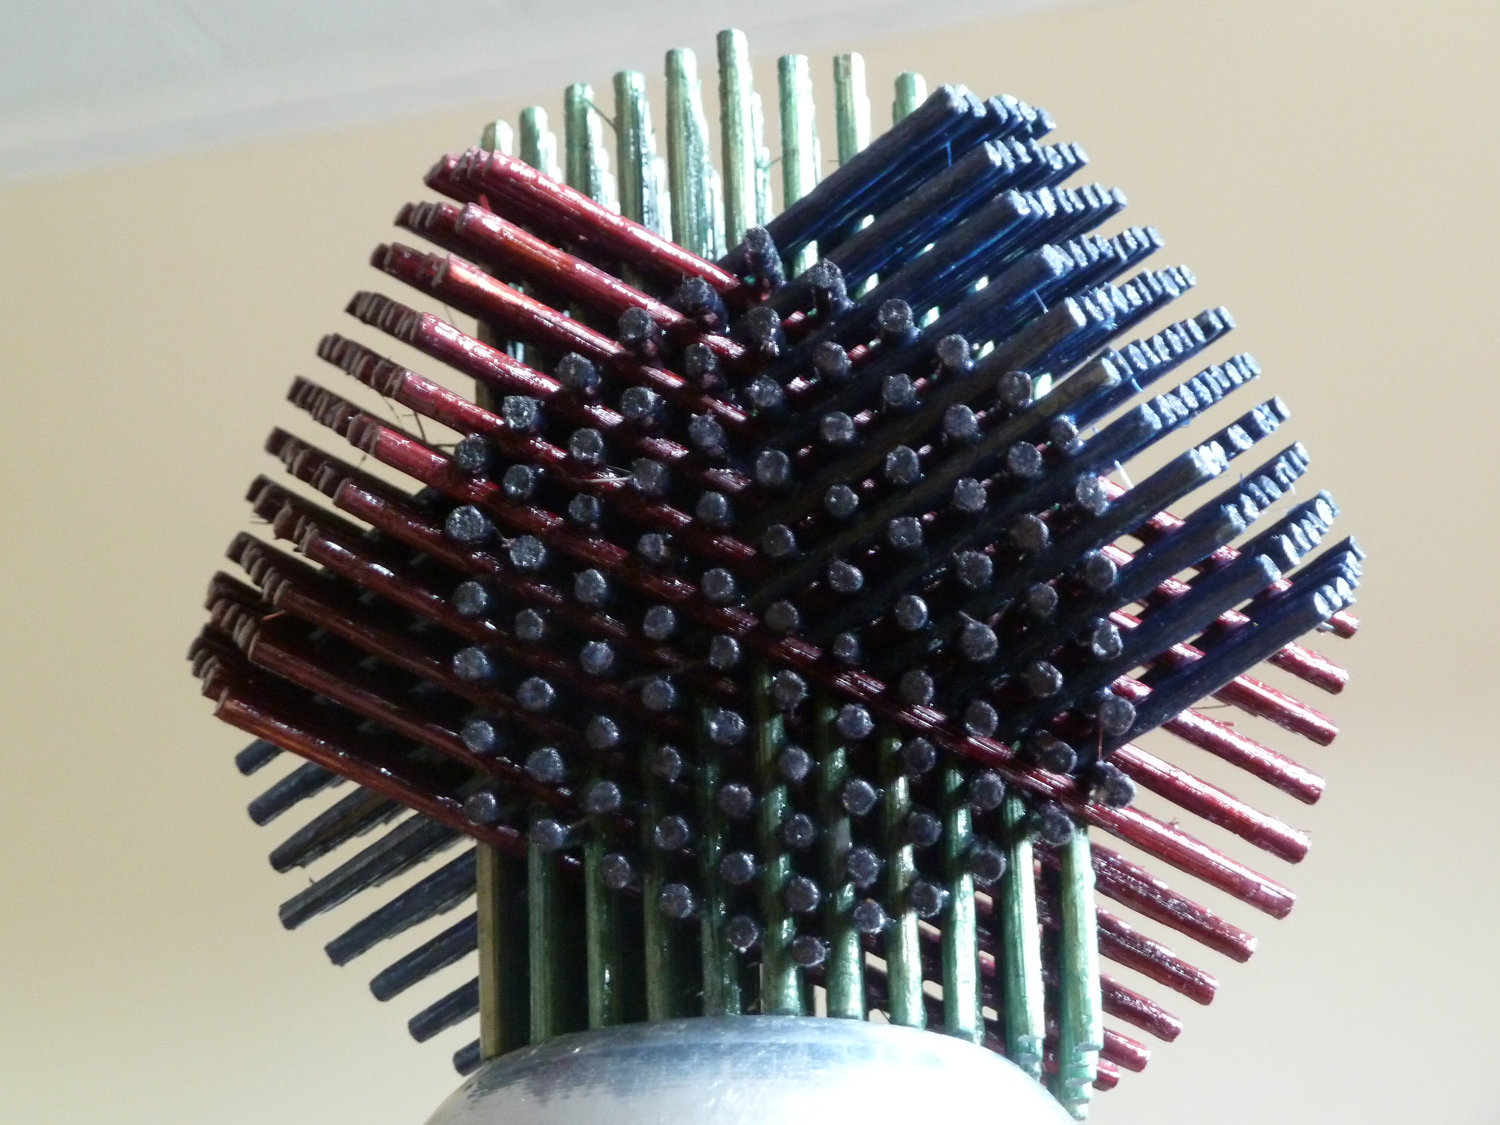
This beautiful and solid sculpture feels nice and fairly heavy in the hand. Keep it where guests can touch and inspect it.

There are 91 sticks of each colour: Blue, Green, Deep Red, and Deep Brown (Black in dim light).
This video shows how I made it:
I am selling this by dutch auction, starting at $80 and reducing by $5 each week.
This sculpture is similar to one by George Hart, called 72 pencils. http://www.georgehart.com/sculpture/pencils.html
I make geometric crafts, sculptures, materials, and I teach workshops. More information at http://geoburst.ca
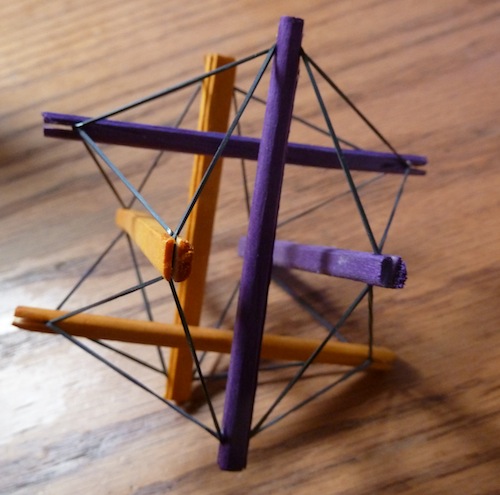
I am preparing a workshop where we will make tensegrities. These beautiful little mathematical decorations require (the way I make them) dowels with notches in the ends. I made a special saw to notch the dowels on the spot, instead of notching a bunch of them in advance. I just hope that people will be able to use them!

Here is a demo of the saw:
And here is an instructable:
http://www.instructables.com/id/A-saw-for-putting-notches-in-the-ends-of-dowels-b/
Here is the text from the same instructable:
This is the perfect tool if your crafts require that you notch the ends of a lot of dowels, but you don't have a band saw, or you don't want to be running back and forth to the ban saw. The cuts it makes are clean, and if you are careful with the measurements, you'll be notching the middle of the dowels.
One rule that I follow is:
Don't measure anything when you can square it up as you go.
The other rule is:
Don't measure anything twice if you can easily toss it away and do it again.
I think the pictures are somewhat self explanatory, so I haven't broken it down into steps.
The materials are:
-a thick bolt with a flat or round head (the type that go into wood)
-a long bolt. this will adjust the tension on the saw blade. see pictures for nuts and washers
-one thick washer which will connect to the saw blade.
-a coping saw blade (google this one, it's those extremely thin blades.
-4 thin bolts
-4 "thick" washers. These are your spacers around the saw blade
-some scrap wood, including a 2x4.
A drill, dremel tool and cut off disks is nearly indispensable here. If you don't have one and you are into this stuff, get one right away. I recommend grabbing a no name drill, but brand name (dremmel) bits. that way you don't care about burning out a $15 drill, but you have good bits to work with.
1. Put that thick bolt in and hammer it flat on the bottom so your saw lies flat.
2. Cut the bolt down to the right length.
3. Notch the bolt so the saw blade sits in it.
4. Prepare the tension assembly and screw it on wherever the saw blade comes to.
5. Cut a notch in the thick washer for the blade to sit in.
6. Put tension on the blade until it twangs nicely.
7. Prepare the guides that will keep the dowel centered on the blade.
8. Use the thick washers for spacers. Note that you can make an adjustable version of this thing, but I didn't need one.
9. Bottom bolts use the spacers, the top two bolts are just so the dowel doesn't run off the end of the saw.
Finally: To notch a dowel use a block of wood with a hole to hold it. The dowel should stick out the same amount as the depth of the desired notch. Enjoy your notching!
I got hopelessly lost the first time I tried to make this, but with a bit of patience and some images from the article on Wikipedia, I have come out of it one Compound of 5 Tetrahedra richer.
Here is an animated GIF of the model. It will be available to buy on Etsy as soon as I have taken the proper photographs.

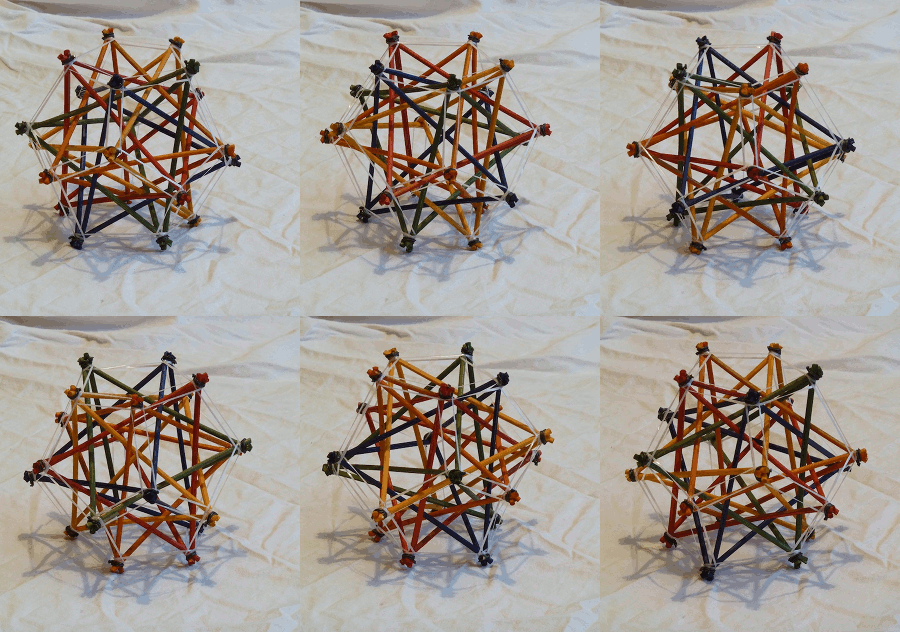
Each of the five tetrahedra is a different colour, so that the colouring has the same properties as the one in my coloured icoshedrons (correct me if I'm wrong here!).
I am available to teach people how to make things like this (though this one is for the nimble and patient), and I also colour sticks for such purposes. Please contact me with the information on this website.